
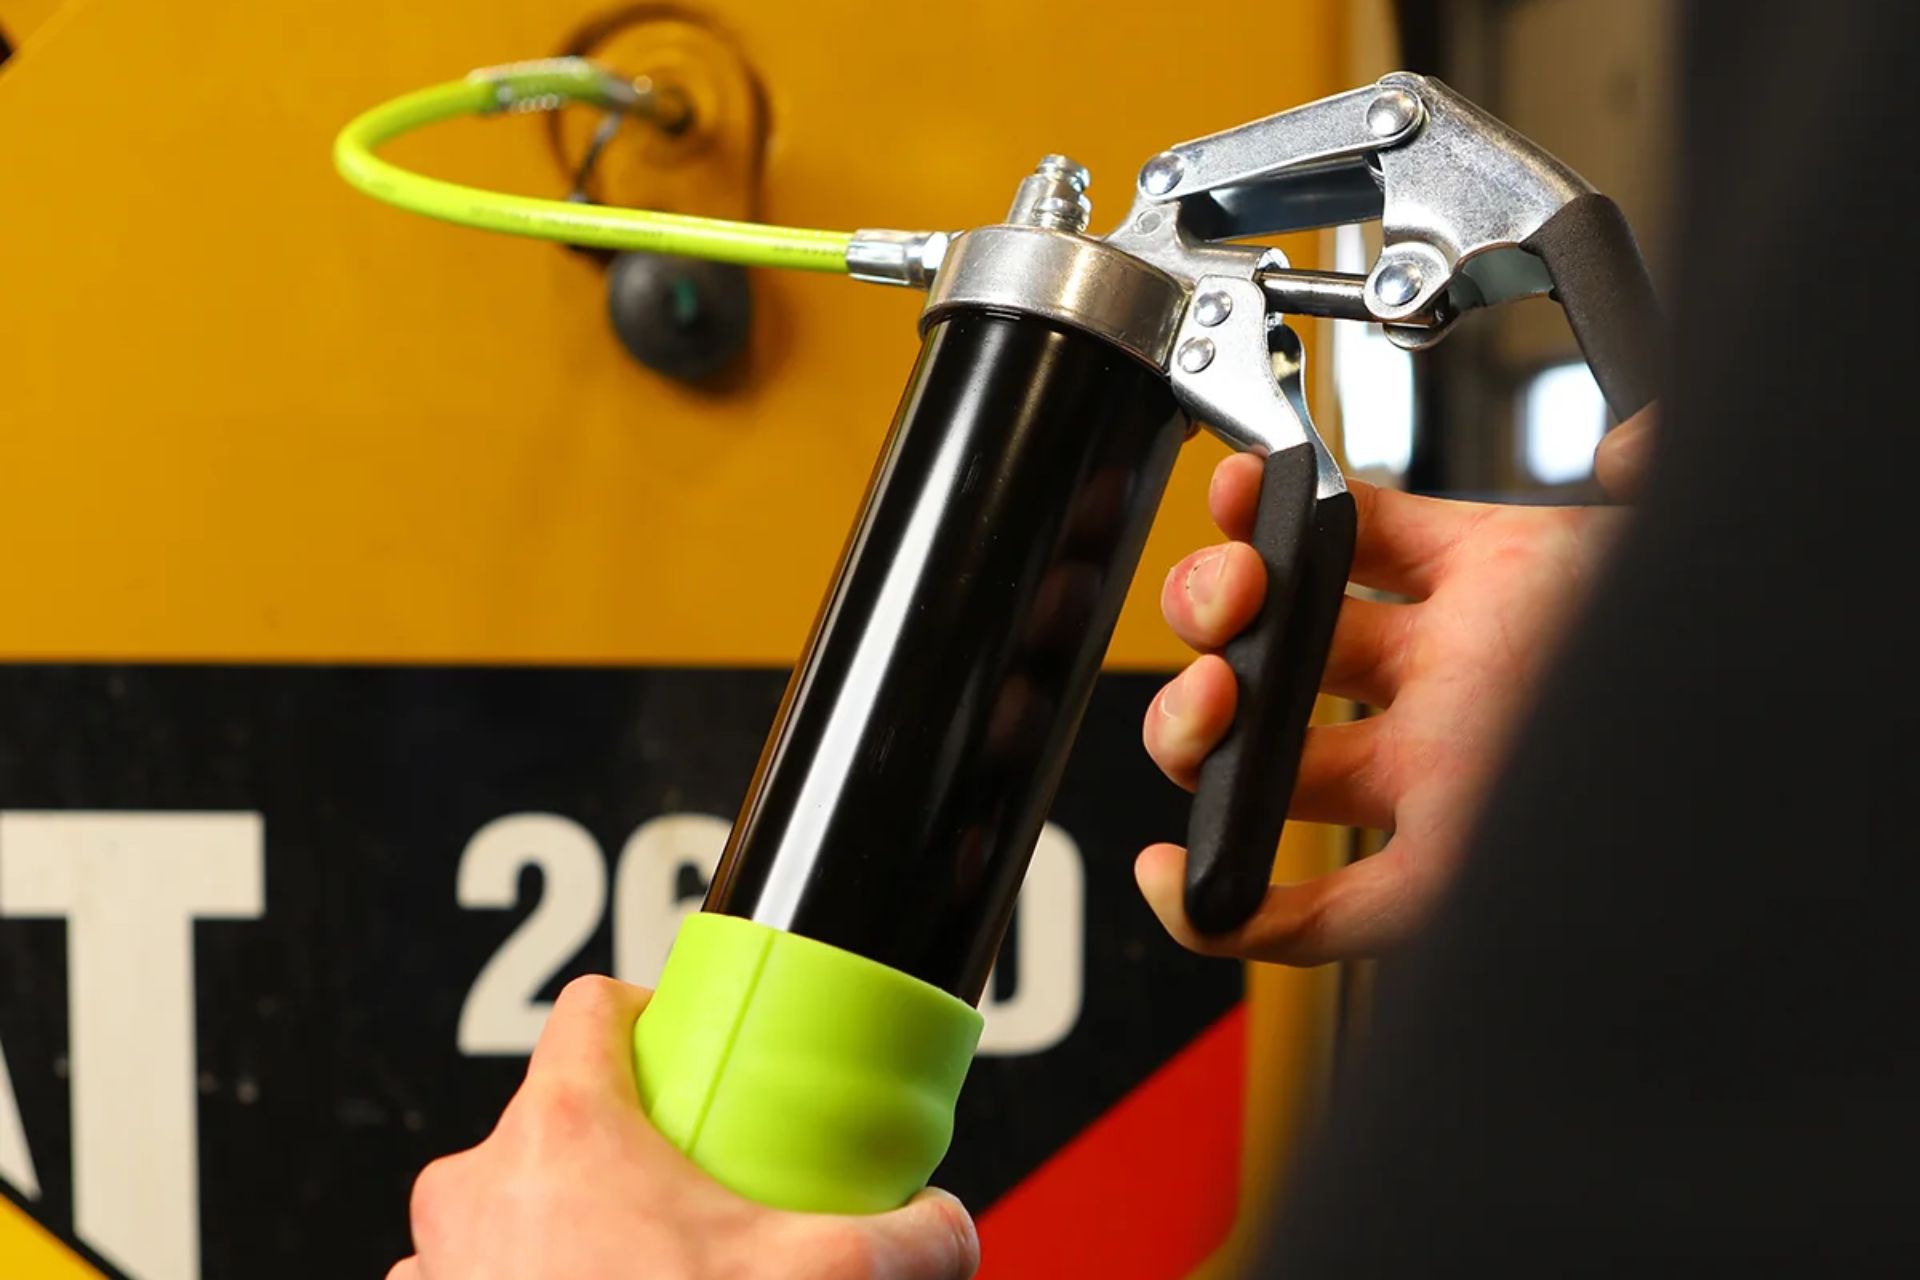
How To Clean A Grease Gun is an important maintenance skill for anyone who regularly lubricates vehicles, agricultural machinery, construction equipment, or industrial components. A grease gun may look simple, but it works under significant pressure and depends on clean internal passages, seals, fittings, and pumping components to deliver lubricant correctly.
Every time a grease gun is placed on a dirty workbench, exposed to dust, or connected to a contaminated grease fitting, unwanted particles can enter the lubrication system. Old grease can also accumulate around the barrel, coupler, hose, nozzle, piston, and other components. If that contamination eventually reaches a bearing or other lubrication point, it can introduce abrasive material into machinery.
Regular cleaning therefore serves more than an aesthetic purpose. A clean grease gun helps maintain consistent grease delivery, reduces the possibility of blocked passages, makes inspections easier, and helps prevent different lubricants from becoming unintentionally mixed.
The good news is that cleaning does not have to be complicated. With the right procedure, basic tools, and a few minutes of careful work, you can remove external residue, clean accessible components, inspect wear points, and prepare the tool for its next lubrication job.
This guide explains a practical approach to cleaning a grease gun while emphasizing an important principle: always follow the manufacturer’s instructions for your specific model. Different manual, pneumatic, battery-powered, and industrial grease guns may have different cleaning requirements. Some manufacturers specifically warn against immersing components or using solvents on certain non-metallic parts.
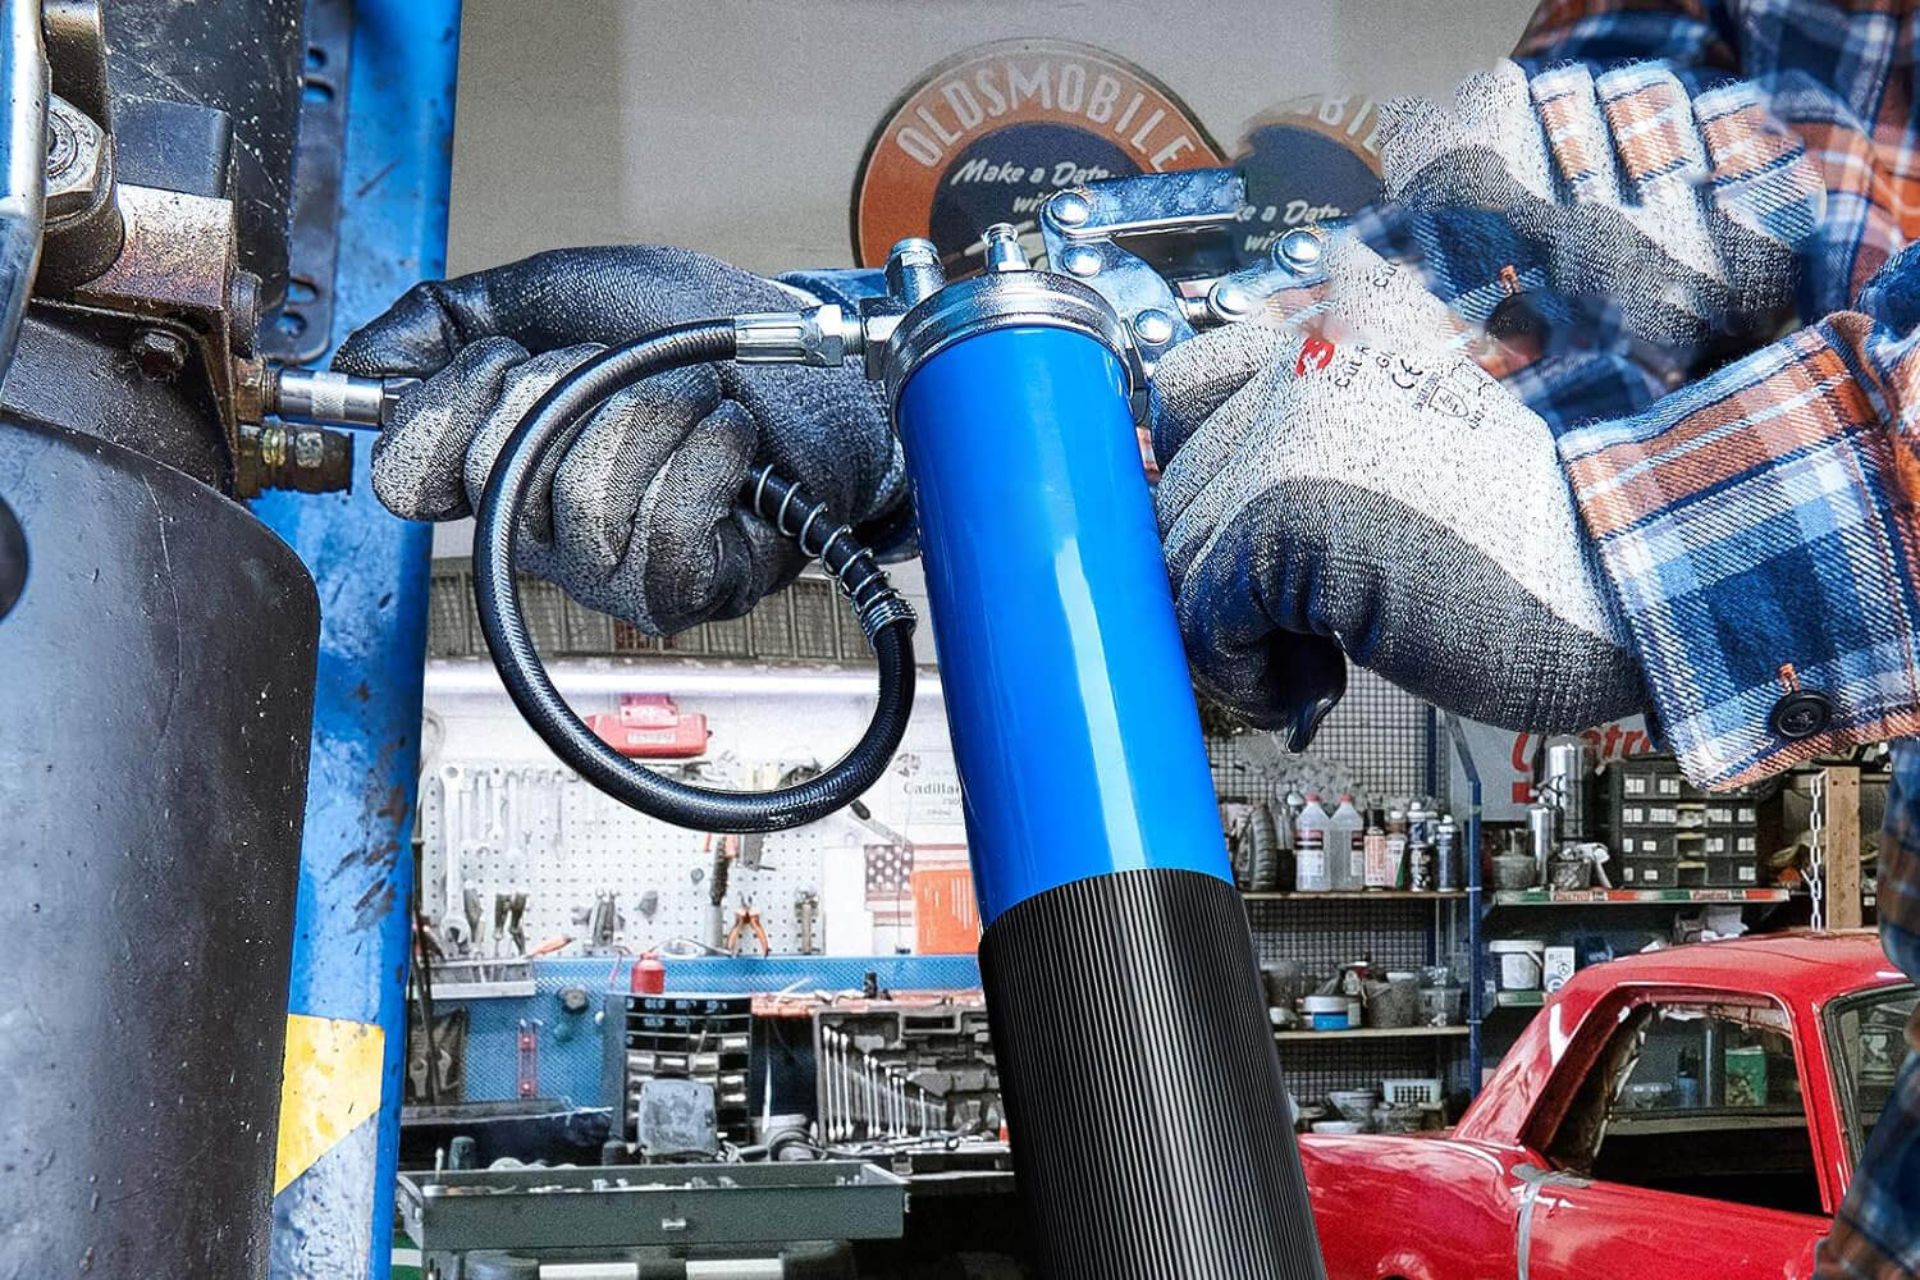
Why Should You Clean a Grease Gun?
A grease gun comes into direct contact with lubricant and, frequently, dirty machinery. That combination makes contamination difficult to avoid completely.
Old grease can collect around the coupler and nozzle. Dust may adhere to the outside of the barrel. Small particles can accumulate around threads, seals, valves, or fittings. If the tool is stored without being wiped down, this residue can become harder to remove over time.
Another concern is lubricant compatibility. If you switch from one type of grease to another without cleaning the grease gun, remnants of the previous product may remain inside the barrel or pumping mechanism. Depending on the lubricants involved, unintended mixing can affect lubrication performance.
A well-maintained grease gun also makes troubleshooting easier. When the tool is clean, you can identify damaged hoses, leaking connections, worn couplers, cracked components, or other problems before they become more serious.
Industry lubrication guidance also recommends keeping grease guns clean, protecting them from contamination, wiping fittings before use, and storing guns in clean conditions.
How To Clean A Grease Gun: What You Need
Before starting, gather everything you need. Preparing your workspace first prevents you from handling dirty components unnecessarily.
Useful supplies may include:
- Clean shop rags or lint-free cloths
- Nitrile or suitable protective gloves
- Safety glasses
- A soft-bristle brush
- A small parts-cleaning brush
- Mild soap and water for appropriate external surfaces
- An approved degreasing product, if the manufacturer permits it
- A small container for removable metal components
- Clean paper towels
- Replacement seals or O-rings, if inspection shows damage
- Fresh grease for reassembly or lubrication where required
Do not automatically assume that every grease gun can be cleaned with the same solvent. Some manuals specifically instruct users not to use solvents or immerse the tool in liquid. For example, certain Harbor Freight grease gun manuals recommend wiping the tool with a soft cloth and removing grease and debris without solvents or immersion.
For this reason, the owner’s manual should be your first reference before applying any chemical cleaner.
Prepare Your Workspace Before Cleaning
Cleaning a grease gun can become messy if the tool contains a substantial amount of old lubricant. Choose a stable, well-ventilated work surface where small components cannot easily roll away.
Cover the workbench with disposable paper or an absorbent mat if necessary. Keep fresh grease away from dirty rags and used cleaning materials.
Before opening the grease gun, put on appropriate gloves and eye protection. Pressurized grease equipment can create hazards if components are disconnected incorrectly.
Most importantly, make sure the grease gun is not connected to a pressurized source. For pneumatic models, disconnect the air supply before servicing. For battery-powered models, follow the manufacturer’s instructions regarding battery removal or isolation.
Never begin disassembly simply because a component appears dirty. First understand which parts are designed to be removed by the user and which parts require professional service.
Remove Old Grease From the Outside
The first cleaning stage is surprisingly important: remove as much external contamination as possible before opening the tool.
Use a clean rag to wipe the barrel, head, handle, trigger or lever, hose, coupler, and other accessible surfaces. Work around threaded connections carefully because old grease often collects in these areas.
A soft brush can help loosen dried residue from grooves and corners. Avoid forcing debris deeper into openings.
Pay particular attention to the coupler. The coupler connects the grease gun to the grease fitting, so dirt accumulated around this area can potentially be transferred during lubrication.
A simple wipe-down before and after each use can significantly reduce the amount of buildup that requires deeper cleaning later. Some grease gun manuals specifically recommend removing grease and debris after use.
Remove the Grease Cartridge or Empty the Barrel
The next step depends on the type of grease gun.
If your tool uses a disposable cartridge, remove the cartridge according to the manufacturer’s instructions. If the cartridge is partially used, keep it protected from dust if you intend to reuse it and the manufacturer permits reuse.
For a bulk-fill grease gun, remove the remaining lubricant as completely as practical.
Do not mix fresh grease with a large amount of old, contaminated lubricant simply because the barrel still contains some material. When changing lubricant types, a thorough cleaning may be particularly important.
Once the grease has been removed, wipe the accessible interior surfaces with an appropriate clean cloth or cleaning material.
Disassemble Only the Parts You Are Qualified to Service
Not every grease gun should be completely dismantled by the user.
Some models have relatively straightforward removable barrels, couplers, hoses, pistons, or seals. Others contain springs, check valves, pressure components, electronic controls, or specialized assemblies that require specific service procedures.
Start by consulting the manufacturer’s manual. If it identifies certain components as serviceable, follow that procedure exactly.
As you remove parts, place them in order on a clean surface. Taking a quick photo before disassembly can also help you remember the orientation of small components.
Never force a component that does not come apart as expected. A stuck part may indicate accumulated grease, corrosion, a retaining mechanism, or a component that was never intended to be user-serviced.
Clean the Barrel and Removable Components
Once the appropriate components have been removed, clean each part individually.
For metal components that the manufacturer allows you to clean with a degreaser, apply the cleaner according to its instructions. Use a soft brush to loosen stubborn grease instead of aggressively scraping delicate surfaces.
For surfaces that should not be exposed to solvent, use a cloth dampened with the approved cleaning solution.
The barrel deserves special attention because old grease can adhere to its walls. Remove visible residue while avoiding damage to internal surfaces.
Threads should also be inspected and cleaned. Excessive grease mixed with dirt around threaded connections can make assembly difficult and may hide signs of wear.
For seals, O-rings, plastic components, and other non-metallic parts, use only cleaning methods approved by the manufacturer. Some manuals warn that harsh chemicals can weaken plastic components.
Pay Special Attention to the Coupler and Nozzle
The coupler is one of the most frequently contaminated parts of a grease gun.
During lubrication, it contacts grease fittings that may contain dirt, old lubricant, and environmental debris. Residue can accumulate inside the jaws or around the connection point.
Wipe the outside first. Then inspect the accessible internal area for hardened grease or contamination.
If the coupler is designed to be disassembled, follow the manufacturer’s procedure. Do not force its internal components apart if they are not intended to be user-serviceable.
Check for:
- Damaged gripping jaws
- Excessive wear
- Cracks
- Restricted movement
- Hardened grease
- Leakage
- Deformed components
A worn coupler may fail to connect securely to a grease fitting or may make lubrication unnecessarily difficult.
Inspect the Hose, Seals, and Fittings
Cleaning is also an opportunity to perform a basic condition check.
Look closely at the hose for cuts, cracks, bulges, abrasion, or other visible damage. Examine connection points for signs of leakage.
Inspect O-rings and seals for flattening, cracking, hardening, or deformation. A damaged seal can affect pressure retention and may allow grease to escape.
Also examine the fittings and threaded connections. If threads are damaged or a connection no longer seats correctly, cleaning alone will not solve the underlying problem.
Before using the grease gun again, correct any condition that could affect safe operation. Manufacturer guidance commonly recommends inspecting the general condition of the tool before use and avoiding damaged equipment.
Clean the Pump Mechanism Carefully
The pumping mechanism is where extra caution is necessary.
Old grease can accumulate around the piston or other moving components. However, aggressively introducing cleaning fluid into an internal pump mechanism can cause problems if the design does not permit it.
Do not flood the inside of an electric grease gun or another sealed assembly with water, solvent, or degreaser.
For accessible areas, remove visible residue using the manufacturer’s recommended method. A clean cloth or suitable soft brush is often preferable to aggressive chemical treatment.
If the pump remains blocked after external cleaning, consult the service instructions rather than repeatedly forcing the handle or trigger.
Some grease guns may fail to dispense lubricant because of trapped air, blocked extensions, cold grease, or follower-related issues rather than simple dirt. Manufacturer troubleshooting instructions can help distinguish these problems.
Clean the Check Valve Only If the Design Allows It
The check valve is an important part of many grease gun designs because it helps control lubricant movement through the pumping system.
If a manufacturer specifically provides instructions for cleaning the check valve, follow them carefully. Some manuals describe removing the check-valve components, cleaning them, and reinstalling them in the correct order.
However, this is not a universal instruction for every grease gun.
Small springs, balls, discs, plugs, and other components can be easy to lose or reinstall incorrectly. If your manual does not describe user servicing of the check valve, do not improvise a disassembly procedure.
This is one of the areas where the correct answer to How To Clean A Grease Gun depends on the model.
Dry Every Component Completely
After cleaning, allow all components to dry completely before reassembly.
Moisture left inside a component can contaminate fresh lubricant or contribute to corrosion, depending on the material and environment.
Use a clean lint-free cloth to remove accessible moisture. Compressed air may be appropriate for certain metal components, but use it only when the manufacturer’s instructions permit it and wear suitable eye protection.
Never assume that blowing air into an electric grease gun or sealed mechanism is harmless. Follow the manufacturer’s recommendations.
The goal is simple: every component should be clean, dry, and ready for inspection before you put the tool back together.
Reassemble the Grease Gun Correctly
Reassembly should be performed in the reverse order of disassembly, using the manufacturer’s instructions as your reference.
Make sure seals are correctly seated and that threaded connections are properly aligned. Avoid cross-threading components.
Do not overtighten parts simply because you want to prevent leaks. Excessive force can damage threads, seals, or housings.
If the manufacturer specifies a particular lubricant for O-rings or moving components, use the recommended product and amount.
Before loading fresh grease, manually check that moving parts operate as expected without forcing the mechanism.
Load Fresh Grease Without Introducing Contamination
Once the grease gun is clean and reassembled, it can be prepared for fresh lubricant.
Keep the new grease container, cartridge, and loading area clean. Avoid placing a grease cartridge on a dirty workbench.
If you are switching grease types, confirm compatibility before combining products. A cleaning process may be necessary when changing lubricants, especially when compatibility is uncertain.
When using a cartridge, make sure it is installed correctly according to the manufacturer’s instructions. Improper loading can introduce air and may cause the gun to stop dispensing grease consistently.
If the tool requires priming, follow the manufacturer’s procedure rather than repeatedly pumping the handle without diagnosing the problem.
Prime the Grease Gun and Check Its Operation
After reassembly and loading, test the grease gun in a controlled manner.
Operate the pump according to the manufacturer’s instructions. Check whether grease moves through the system smoothly.
Watch for:
- Irregular grease flow
- Air pockets
- Leakage around connections
- Grease escaping from the rear of the gun
- A damaged hose
- A coupler that does not grip properly
- Unusual resistance in the handle or trigger
If the gun does not dispense grease, do not immediately assume that it needs more pumping. Trapped air, a blocked extension, incorrect cartridge installation, or other mechanical issues can cause poor delivery.
Resolve the underlying issue before putting the tool back into regular service.
How Often Should You Clean a Grease Gun?
There is no single cleaning interval that applies to every grease gun.
The correct frequency depends on usage, working conditions, grease type, storage environment, and manufacturer recommendations.
A practical maintenance routine can include three levels.
After each use: Wipe away external grease and visible debris. Keep the coupler clean and store the gun in a clean, dry location.
During routine maintenance: Inspect the hose, coupler, barrel, seals, fittings, and other accessible parts for contamination or wear.
When changing grease types or dealing with contamination: Perform a more thorough cleaning when appropriate to prevent unwanted lubricant mixing.
Heavy-duty industrial applications may require more frequent attention than occasional automotive use. The cleaner the working environment and the better the storage practices, the less frequently a deep cleaning may be required.
Common Grease Gun Cleaning Mistakes to Avoid
Knowing what not to do is just as useful as knowing what to do.
Using the Wrong Solvent
A strong degreaser may remove grease effectively, but it can also damage plastics, rubber seals, coatings, or other materials.
Always verify chemical compatibility first.
Soaking the Entire Tool
Immersing an entire grease gun can force liquid into areas that should remain dry. Certain manufacturers explicitly prohibit immersion or solvent cleaning.
Cleaning With a Dirty Rag
A rag covered in abrasive dirt can simply move contamination from one part of the gun to another.
Use clean cloths during final cleaning.
Ignoring the Coupler
A clean barrel does not help much if the coupler remains packed with contaminated grease.
Clean and inspect the connection point regularly.
Mixing Lubricants Without Checking Compatibility
Different grease products may have different thickener systems and performance characteristics. When changing products, verify compatibility and follow the equipment or lubricant manufacturer’s guidance.
Reassembling Wet Components
Residual moisture can contaminate fresh grease and potentially contribute to corrosion.
Allow components to dry completely before reassembly.
Overlooking Damaged Parts
Cleaning cannot repair a cracked hose, worn coupler, damaged seal, or defective fitting.
Replace damaged components when required.
How to Prevent Your Grease Gun From Getting Dirty
The best cleaning strategy is to reduce contamination before it enters the tool.
Keep the grease gun covered when it is not being used. Store it in a clean and dry location rather than leaving it exposed to dust or workshop debris.
Before connecting the coupler to a grease fitting, wipe the fitting clean. This simple step helps prevent external contamination from being pushed into the lubrication system.
Keep grease containers closed when they are not being used. Do not place open grease cartridges or bulk grease on dirty surfaces.
It is also useful to keep different grease guns clearly identified when different lubricant types are used in the same workshop. Marking the intended grease type can reduce the possibility of accidental cross-contamination.
Lubrication specialists recommend keeping grease guns clean and covered, wiping fittings before use, and maintaining consistent lubrication practices.
What If the Grease Gun Still Does Not Work After Cleaning?
A cleaned grease gun should not automatically be considered repaired.
If the tool still fails to pump, investigate the symptoms.
A gun that will not dispense grease may have trapped air, a blocked extension, incorrect cartridge positioning, cold or unsuitable grease, or an internal mechanical issue. Some manufacturer troubleshooting guides specifically identify these possibilities.
If grease leaks from the back of the tool, inspect the follower, seal, and grease type according to the manufacturer’s troubleshooting instructions.
If the handle becomes difficult to operate, stop forcing it. Excessive resistance can indicate an internal problem.
For battery-powered or pneumatic models, electrical, air-supply, pressure, or internal component problems may require qualified service.
Manual vs. Battery-Powered Grease Guns: Does Cleaning Differ?
The basic contamination-control principles are similar, but the cleaning procedure can differ significantly.
A manual grease gun generally has fewer electrical components, but it still contains seals, valves, pumping components, and pressure-bearing connections.
A battery-powered grease gun contains additional components that must be protected from moisture, solvents, and inappropriate cleaning methods. Exterior cleaning should therefore be performed carefully, following the manufacturer’s instructions.
For pneumatic grease guns, disconnect the air supply before maintenance and follow the manufacturer’s instructions for cleaning the air-operated components.
In every case, the manufacturer’s manual takes priority over a generic cleaning method.
A Simple Grease Gun Maintenance Checklist
Use this checklist as a quick reminder:
- Disconnect the tool from any power or air source before servicing.
- Wear appropriate gloves and eye protection.
- Remove old grease where practical.
- Wipe external surfaces after use.
- Clean the coupler and nozzle.
- Inspect the hose for damage.
- Check seals and O-rings.
- Examine fittings and threaded connections.
- Clean removable parts using approved methods.
- Avoid solvents on materials that are not chemically compatible.
- Never immerse the entire tool unless the manufacturer explicitly permits it.
- Dry components completely.
- Reassemble carefully.
- Load uncontaminated grease.
- Prime the gun if required.
- Test grease delivery before returning the tool to service.
- Store the grease gun somewhere clean and dry.
Following these basic steps can make routine maintenance more consistent and reduce the chance of contamination.
Frequently Asked Questions About How To Clean A Grease Gun
Can I Use Water to Clean a Grease Gun?
Water may be suitable for certain external surfaces when the manufacturer allows it, particularly when used with mild soap. However, water should not automatically be introduced into internal mechanisms.
Some manufacturers specifically recommend a cloth dampened with water and mild soap for certain non-metallic components while warning against immersion.
Can I Use Brake Cleaner on a Grease Gun?
Do not assume brake cleaner is safe for every grease gun component. Brake cleaner can interact differently with plastics, rubber, seals, coatings, and other materials.
Use it only if the manufacturer specifically permits it for the relevant component.
Should I Clean a Grease Gun After Every Use?
A full teardown after every use is generally unnecessary unless the manufacturer requires it or the tool has been exposed to significant contamination.
However, wiping away external grease and debris after use is a useful routine. Some manufacturer instructions specifically recommend removing grease and debris after use.
Why Is My Grease Gun Not Pumping After Cleaning?
Possible causes include trapped air, an incorrectly installed cartridge, a blocked extension, unsuitable grease, or a mechanical problem.
Check the manufacturer’s troubleshooting procedure before disassembling additional components.
Should I Clean the Grease Gun Before Changing Grease?
When changing to a different grease, cleaning can help prevent unwanted mixing. Whether a complete internal cleaning is required depends on the grease products, their compatibility, the application, and the manufacturer’s recommendations.
How Do I Store a Clean Grease Gun?
Store it in a clean, dry environment protected from dust and moisture. Keep the coupler protected from contamination and avoid placing the tool directly on dirty workshop surfaces.
Final Thoughts on How To Clean A Grease Gun
Learning How To Clean A Grease Gun is a small maintenance task that can have a meaningful impact on lubrication quality and tool reliability. The objective is not simply to make the equipment look clean. Proper maintenance removes contamination, exposes potential wear, protects sensitive components, and helps ensure that fresh grease reaches the intended lubrication point without unnecessary debris.
The safest approach is to combine regular wipe-downs with periodic deeper maintenance when the tool’s condition, application, or lubricant change requires it. Always distinguish between components that can be safely cleaned by the user and assemblies that should be serviced professionally.
Most importantly, treat the manufacturer’s manual as the final authority. Cleaning chemicals, disassembly procedures, and serviceable components vary between models. When you follow the correct procedure, inspect the tool carefully, keep grease protected from contamination, and store the gun properly, your lubrication equipment can remain cleaner and more dependable for longer.
For anyone responsible for maintaining machinery, understanding How To Clean A Grease Gun is therefore not just about housekeeping—it is an essential part of good lubrication-tool maintenance.
