
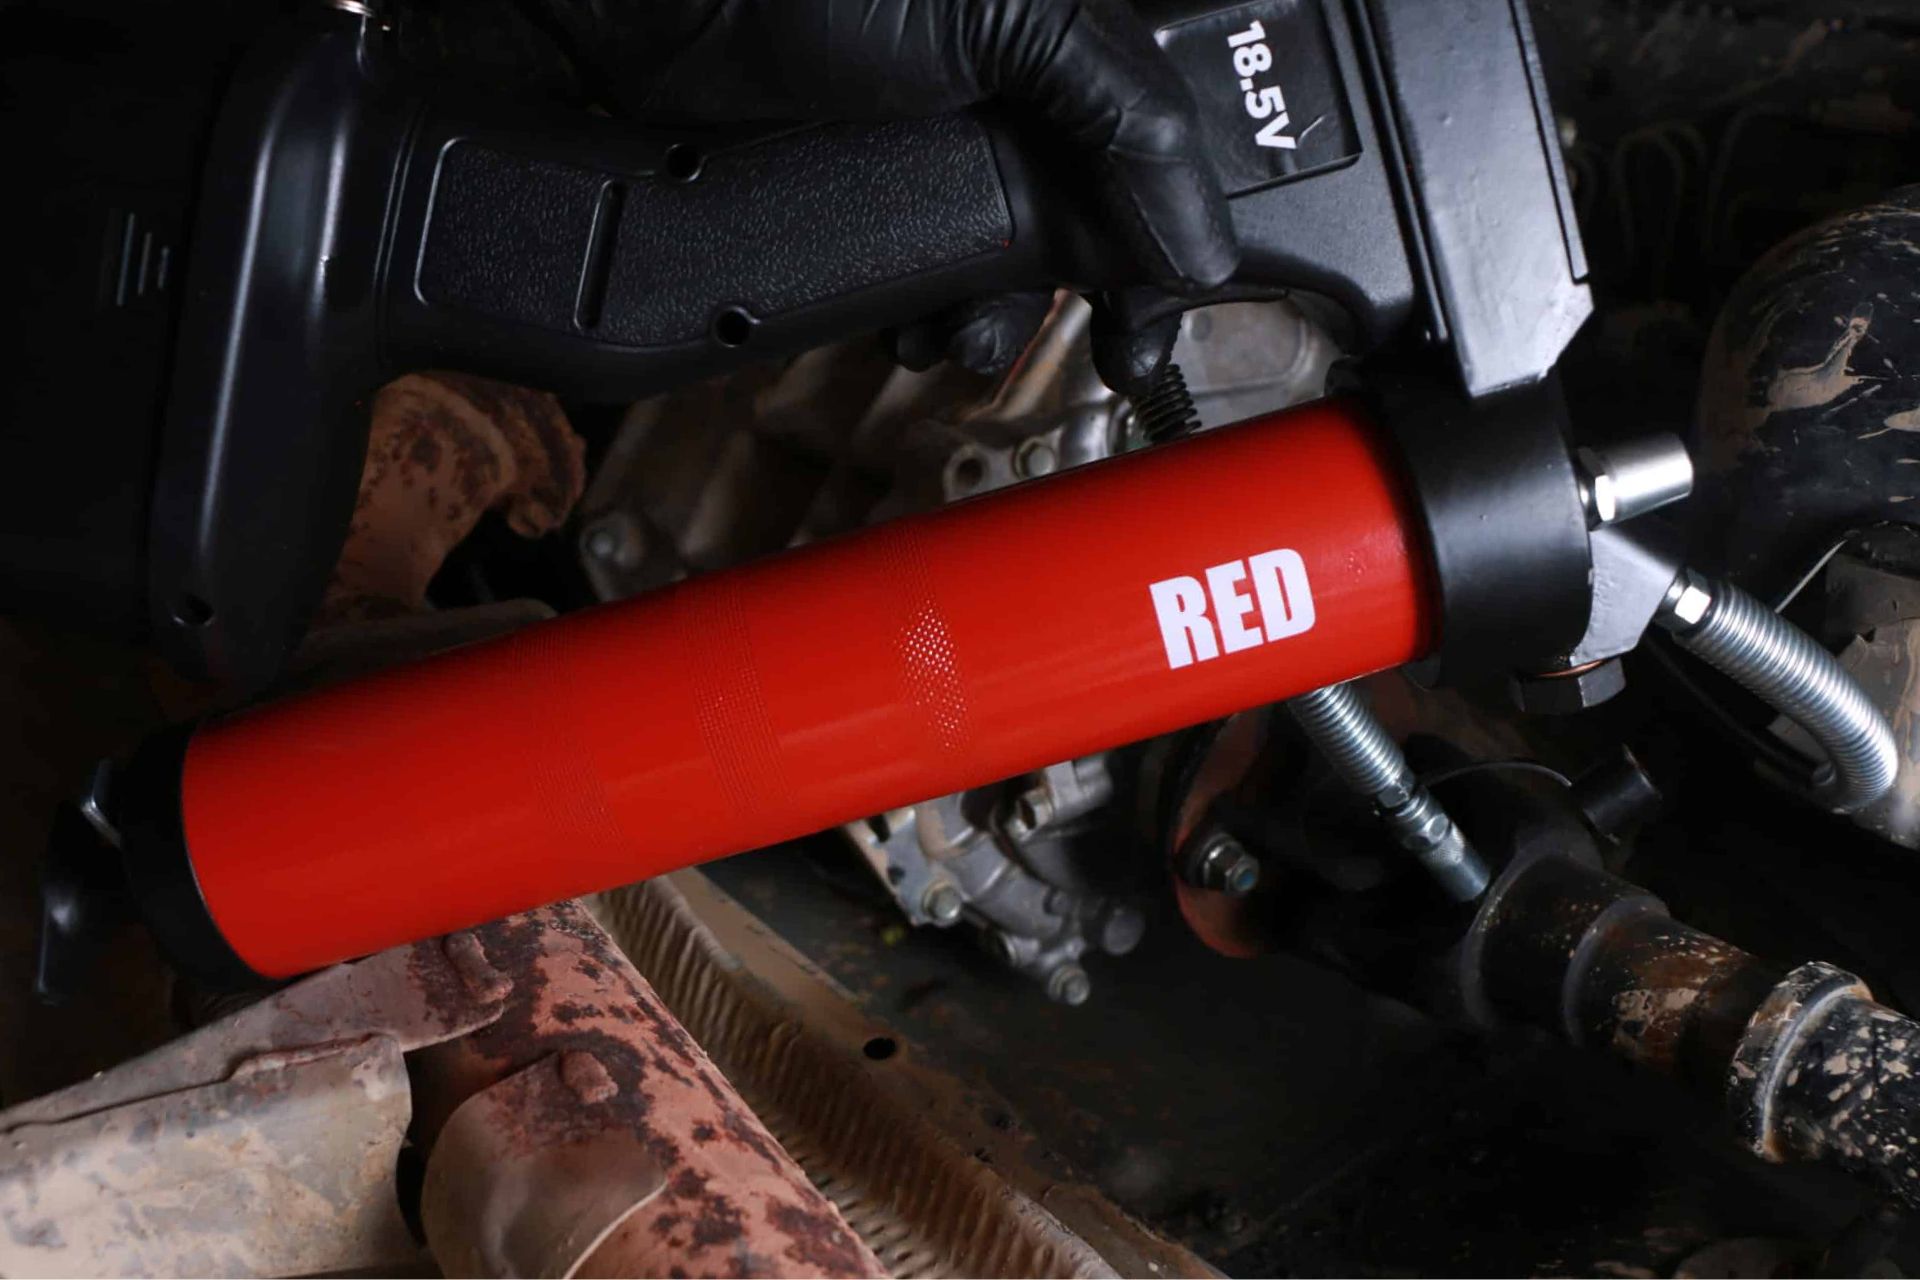
A leaking Grease Gun can turn a simple lubrication job into a frustrating, messy task. Grease may seep from the gun head, escape around the cartridge, drip from the hose connection, or even leak around the plunger at the bottom of the barrel. In some cases, the problem is nothing more than a loose fitting. In others, a worn seal, damaged coupler, incorrect grease cartridge, excessive pressure, or internal component failure may be responsible.
The good news is that most grease gun leaks are relatively easy to diagnose once you know where to look. Instead of immediately replacing the entire tool, you can usually identify the source of the leak, clean the affected components, tighten a connection, replace an inexpensive seal, or correct the way the grease cartridge was installed.
This guide explains why grease guns leak, how to locate the source of the problem, what you can do to repair it, and how to prevent the same issue from happening again.
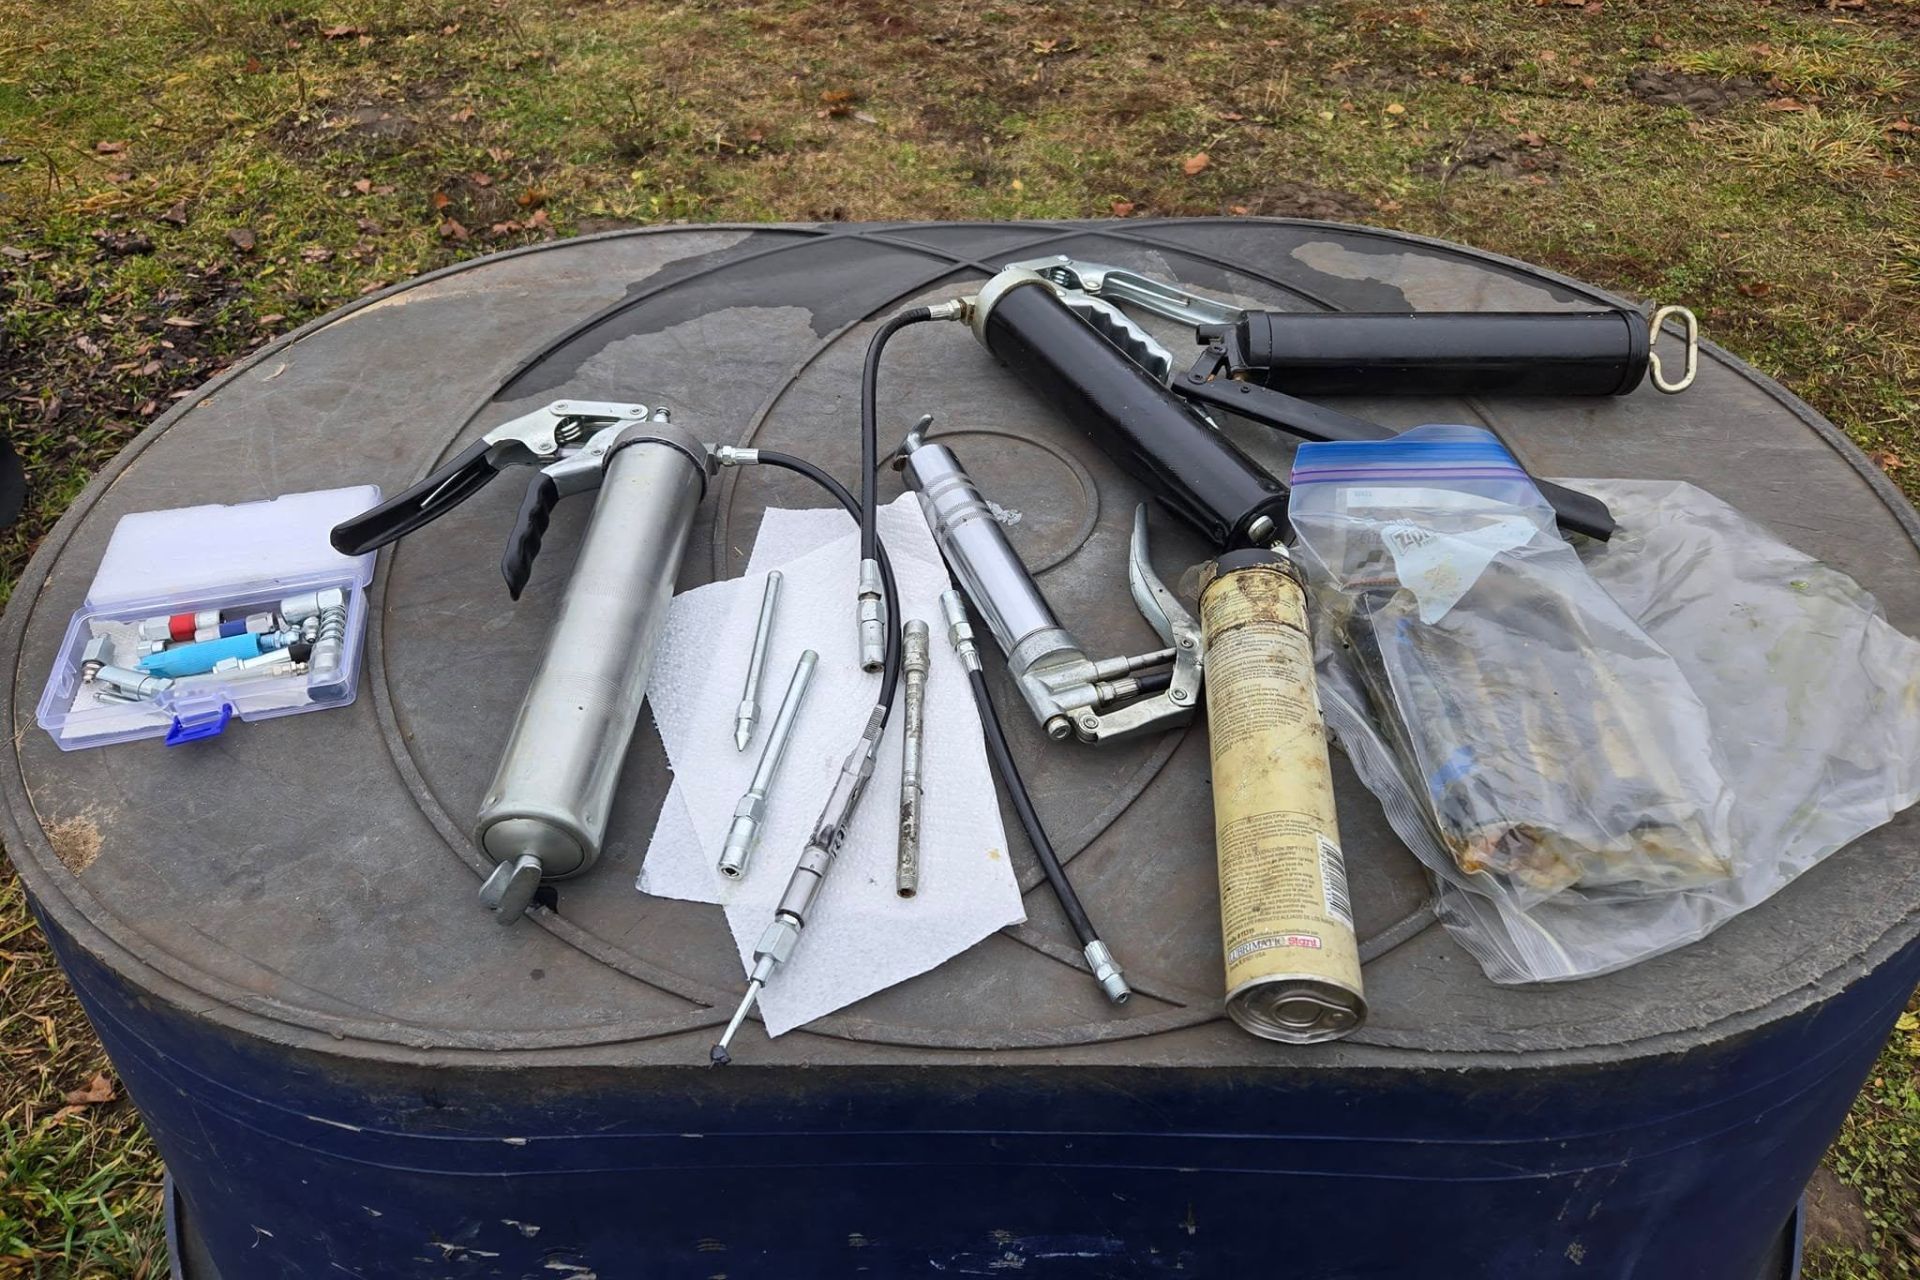
Why Does a Grease Gun Leak?
A grease gun works by forcing lubricant from its barrel through a pump mechanism and into a hose or rigid extension. When you operate the lever, pistol grip, or powered mechanism, pressure builds inside the system and pushes grease toward the coupler.
Because grease can be thick and resistant to flow, substantial pressure may develop inside the tool. Every threaded connection, seal, gasket, hose, and fitting therefore needs to remain properly sealed.
A Grease Gun commonly begins leaking when one of those sealing points becomes loose, damaged, contaminated, incorrectly assembled, or unable to withstand the pressure being generated.
The location of the grease is usually the best clue. Leakage around the gun head points toward a different problem than grease coming from the coupler or the rear plunger assembly.
Before taking the gun apart, wipe it completely clean. Operate it several times and observe where fresh grease first appears. Finding the actual starting point prevents you from replacing components unnecessarily.
1. Loose Connections Are a Common Cause of Grease Gun Leaks
Start with the simplest possibility: a loose connection.
A typical grease gun contains several threaded joints, including the barrel-to-head connection, hose connection, extension tube, coupler, and sometimes adapters or swivel fittings.
Repeated pumping, vibration, transportation, and normal handling can gradually loosen these parts.
When pressure builds, grease finds the smallest available opening and begins squeezing through it.
Clean the suspected connection first so you can see exactly where the grease originates. If the joint is loose, carefully tighten it using the appropriate wrench.
Avoid excessive force. Overtightening can damage threads, crush sealing components, or crack weaker fittings.
If a threaded joint repeatedly leaks even after tightening, inspect its threads and sealing surfaces for damage rather than simply applying more torque.
2. A Damaged Seal or O-Ring May Be Responsible
Seals are small components with an important job. They keep pressurized grease inside the gun while allowing its moving parts to function normally.
Over time, an O-ring or gasket can become:
- Hard or brittle
- Flattened
- Torn
- Cracked
- Distorted
- Contaminated
- Incorrectly seated
Once the seal loses its original shape, grease can move around it.
This is particularly common on older grease guns or tools that spend long periods exposed to temperature changes, dirt, chemicals, or heavy workshop use.
Disassemble only the relevant section of the tool and examine its sealing components. A damaged seal should generally be replaced rather than reused.
When installing a new O-ring or gasket, make sure it matches the manufacturer’s required dimensions and material. A seal that looks approximately correct may still leak when the gun reaches operating pressure.
3. The Grease Gun Head May Not Be Properly Tightened
The barrel and pump head are separated whenever many manual grease guns are loaded with a new cartridge. That makes this joint particularly vulnerable to assembly problems.
If the head is installed at an angle or left slightly loose, grease may escape around the circumference of the barrel.
Remove pressure from the gun before checking the connection. Unscrew the head, clean the threads and mating surfaces, inspect them for damage, and reinstall the head correctly.
Pay attention to cross-threading.
If the threads do not engage smoothly, do not force them together. Cross-threaded components may initially appear tight but still fail to create a reliable seal.
4. Incorrect Grease Cartridge Installation Can Cause Leakage
A cartridge-loaded Grease Gun depends on correct cartridge installation.
If the cartridge is inserted incorrectly, damaged during loading, or not properly seated, grease can collect where it should not.
Before installing a cartridge, confirm that it is the correct size for your grease gun. Follow the gun manufacturer’s loading procedure because cartridge orientation and preparation can vary by design.
Check the cartridge for dents or deformation before installation. Also make sure any required cap, pull tab, or seal has been removed at the correct stage.
Rushing the loading process can cause both leaks and priming problems.
5. Grease May Be Leaking From the Hose Connection
Flexible hoses make lubrication easier in confined spaces, but they also introduce additional potential leak points.
If grease appears where the hose attaches to the gun, first determine whether it is coming through the threaded connection or through the hose itself.
A leaking connection may simply require correct tightening. A damaged hose is different.
Inspect the entire hose for:
- Cracks
- Cuts
- Abrasion
- Bulges
- Damaged end fittings
- Kinks
- Separation near crimped sections
Do not continue using a visibly damaged high-pressure grease hose.
Grease guns can develop high internal pressure, and a compromised hose should be replaced with a suitable component rated for the equipment rather than temporarily patched.
6. Why Does My Grease Gun Leak From the Coupler?
The coupler is one of the hardest-working components on a grease gun. It repeatedly connects to grease fittings while being exposed to grease, dirt, pressure, and mechanical wear.
If grease escapes around the coupler while you are lubricating a fitting, several explanations are possible.
The coupler may be worn. Its internal jaws may no longer grip the fitting correctly. The fitting itself could be damaged or dirty. The coupler might also be misaligned with the grease fitting.
Clean both components before assuming either one has failed.
Push the coupler squarely onto the fitting. If it sits at an angle, grease may escape around the connection instead of entering the lubrication point.
If leakage occurs on many different fittings, inspect the coupler closely. A worn coupler is often easier and more economical to replace than repair.
7. A Blocked Grease Fitting Can Create Excessive Pressure
Sometimes the grease gun is not the real source of the problem.
A blocked grease fitting or lubrication passage can prevent grease from entering the component being serviced. The operator continues pumping, pressure rises, and grease eventually escapes through the weakest connection.
This can make a perfectly functional grease gun appear defective.
If the gun works normally on other fittings but leaks when connected to one particular lubrication point, inspect that fitting.
Dirt, dried lubricant, corrosion, or hardened grease may restrict flow.
Do not assume that applying greater force will solve the problem. Excessive pressure can damage the coupler, hose, fitting, seals, or the component being lubricated.
8. Old or Hardened Grease Can Restrict Flow
Grease does not always remain in ideal condition indefinitely.
A grease gun stored for a long period may contain lubricant that has separated, become contaminated, or hardened in certain areas. Old grease can also accumulate inside the head, hose, or coupler.
Restricted flow increases resistance.
As pumping pressure rises, weak sealing points may begin to leak.
If you suspect old lubricant is causing the issue, safely unload and clean the gun according to its manufacturer’s instructions. Inspect the barrel, pump assembly, hose, and coupler for contamination or hardened deposits.
Using clean, appropriate grease helps the tool operate more consistently.
9. Using the Wrong Grease Can Contribute to Problems
Grease varies significantly in consistency and formulation.
A lubricant that is unsuitable for the equipment, application, operating temperature, or grease gun can create pumping difficulties. Extremely thick grease, especially in cold conditions, can require greater force to move through the system.
That does not necessarily mean the lubricant itself directly creates a leak. Instead, the additional resistance can expose already weak seals or connections.
Always use a lubricant compatible with the machinery being serviced and the recommendations of the equipment manufacturer.
Mixing incompatible greases should also be avoided unless compatibility has been confirmed.
10. Cold Temperatures Can Make Grease Harder to Pump
Temperature affects grease consistency.
When conditions become cold, many lubricants become more resistant to flow. Your Grease Gun must then work harder to move grease through the barrel, hose, coupler, fitting, and lubrication passage.
If there is already a marginal seal or loose connection, the higher resistance may make leakage more noticeable.
Store grease and lubrication equipment according to the manufacturer’s recommendations. When working in cold environments, use a grease grade appropriate for the expected operating conditions.
Never attempt unsafe heating methods to soften a cartridge or grease gun.
11. A Damaged Plunger or Follower Assembly Can Cause Grease to Escape
The plunger and follower assembly help maintain pressure on the grease supply inside the barrel.
Problems in this area may lead to grease appearing around the rear of the gun or follower rod.
Possible causes include damaged seals, improper assembly, excessive contamination, or internal wear.
If grease repeatedly reaches areas behind the follower where it should not normally accumulate, inspect the assembly rather than simply wiping away the excess.
Check the manufacturer’s parts diagram if available. Grease guns vary considerably in their internal construction, so disassembly procedures should not be assumed to be identical.
12. Air Trapped Inside the Grease Gun Can Cause Irregular Operation
Air pockets are more famous for causing a grease gun to stop pumping than for directly causing external leakage. However, air inside the system can result in inconsistent operation and encourage users to pump excessively while trying to restore grease flow.
Typical signs of an air-bound grease gun include a handle that feels unusually easy to operate, inconsistent grease delivery, or no grease coming from the coupler after installing a cartridge.
If the gun requires priming, follow its manufacturer’s recommended bleeding procedure.
Some grease guns include an air bleeder valve, while others require a different priming method.
Removing trapped air allows the pump to move grease normally and helps prevent unnecessary pumping and pressure-related troubleshooting.
13. Damaged Threads Can Prevent a Proper Seal
Thread damage deserves special attention because tightening alone will not necessarily solve it.
Threads may become damaged through:
- Cross-threading
- Excessive tightening
- Corrosion
- Impact
- Repeated disassembly
- Dirt or metal debris
Inspect male and female threads after cleaning away all grease.
If the threads are badly damaged, the affected component may need replacement. Forcing damaged threads together can worsen the problem and make future disassembly more difficult.
Correct thread engagement should feel smooth and consistent.
14. Excessive Pressure Can Force Grease Through Weak Points
A grease gun is designed to generate pressure, but that does not mean unlimited pumping force is appropriate.
When grease cannot move through the intended path, pressure seeks another way out.
A seal, coupler, threaded connection, or hose joint that remains leak-free during normal operation may begin leaking when subjected to unusually high resistance.
If pumping suddenly becomes difficult, stop and investigate.
Check the coupler, fitting, hose, grease condition, and lubrication point instead of continuing to apply greater force.
This protects both the grease gun and the machinery being serviced.
How to Find Exactly Where Your Grease Gun Is Leaking
Troubleshooting becomes much easier when the gun is clean.
Begin by removing accumulated grease from the exterior. Pay particular attention to the barrel-to-head joint, hose fittings, coupler, bleeder valve, and rear follower area.
Once clean, operate the grease gun carefully while watching each potential leak point.
Fresh grease reveals the actual source.
A useful diagnostic sequence is:
- Inspect the barrel and head connection.
- Check the hose or rigid extension.
- Examine both hose fittings.
- Inspect the coupler.
- Look around valves and plugs.
- Examine the follower and plunger area.
- Test the gun on a known functional grease fitting.
This approach is far more reliable than assuming the largest grease-covered area is where the leak began. Grease can travel along the outside of a tool before dripping elsewhere.
How to Fix a Leaking Grease Gun
Once you have identified the leak, repair the underlying problem rather than repeatedly cleaning the grease away.
For a loose threaded connection, clean and correctly tighten the joint. If a seal is damaged, replace it with the appropriate part. If a coupler is worn, install a compatible replacement. Damaged hoses should be replaced rather than patched.
If the problem started immediately after loading a new cartridge, check the cartridge installation and prime the gun again according to the manufacturer’s instructions.
A gun that leaks internally despite new seals and correctly tightened components may have a worn or damaged pump assembly.
At that point, compare the cost and availability of replacement parts with the cost of replacing the grease gun.
Should You Use Thread Sealant on a Grease Gun?
Thread sealant can be appropriate for certain threaded connections, but it should not automatically be applied everywhere.
Some connections seal through tapered pipe threads, while others rely on washers, O-rings, flare-style interfaces, or other sealing methods.
Applying the wrong sealing product can interfere with assembly or introduce contamination into the lubrication system.
Follow the grease gun manufacturer’s recommendations for the specific connection.
If thread sealant is specified, use a product compatible with the lubricant, pressure, temperature, and fitting material involved.
When Should You Replace the Grease Gun Hose?
A leaking hose deserves immediate attention.
Replace it if you find cracking, severe abrasion, bulging, damaged fittings, exposed reinforcement, separation, or another obvious structural defect.
Do not rely on tape or improvised repairs.
The replacement hose should be compatible with your grease gun and have an appropriate pressure rating.
This is both a reliability and safety issue. Grease under high pressure can cause serious injection injuries if it penetrates the skin. Never use your hand or fingers to search for a high-pressure leak.
How to Prevent Grease Gun Leaks
Preventive maintenance is easier than cleaning up recurring leaks.
Keep the gun clean, particularly around the cartridge opening, pump head, coupler, and hose connections. Dirt introduced during cartridge replacement can contaminate sealing surfaces and lubrication points.
Inspect the hose and coupler regularly rather than waiting for a complete failure.
During cartridge replacement, clean the barrel threads and make sure the head is installed straight. Prime the gun correctly instead of repeatedly pumping a system filled with air.
Storage matters as well. Keep the grease gun in a clean, dry location where the hose will not be crushed or sharply bent. Avoid throwing it into a toolbox where fittings can be damaged.
If you use several grease types, clearly label each gun. Dedicated guns can reduce accidental lubricant mixing and make maintenance easier.
Can You Continue Using a Grease Gun That Leaks?
That depends on where and why it is leaking, but ignoring the problem is generally a poor approach.
A minor amount of grease around a coupler after disconnecting from a fitting may simply be residual lubricant. Continuous leakage from the hose, head, seals, or other pressurized components indicates a problem that should be investigated.
Leaks waste lubricant, attract dirt, make accurate grease application harder, and may signal deterioration of a pressure-containing component.
If you cannot identify the source or safely repair the tool, remove it from service until it can be inspected.
Why Is Grease Coming Out Around the Fitting Instead of Going In?
When grease escapes around the fitting, first check whether the coupler is fully engaged and aligned.
Next, inspect the fitting for contamination or damage.
If the connection looks correct but grease still refuses to enter, the fitting or lubrication passage may be blocked. Hardened grease and debris can prevent fresh lubricant from flowing.
Testing the gun on another known-good fitting can help isolate the problem.
If the grease gun operates normally elsewhere, focus your troubleshooting on the original fitting or lubrication point rather than the gun itself.
Why Does My Grease Gun Leak After I Stop Pumping?
Residual pressure can remain in parts of the system after pumping stops.
If a connection or seal is marginal, grease may continue to seep out until the pressure decreases. Grease already present around the coupler can also slowly move outward and appear to be an ongoing leak.
Clean the area and observe it carefully.
Repeated leakage from the same connection indicates that the joint, seal, fitting, or component should be inspected.
Why Does a New Grease Gun Leak?
A new tool can leak too.
Common explanations include an incompletely tightened fitting, incorrect cartridge installation, a damaged shipping component, improper assembly, or a manufacturing defect.
Check the instructions before modifying a new grease gun.
If the product appears defective, using the manufacturer’s warranty or return process may be more appropriate than disassembling components that could affect warranty coverage.
Manual vs. Pneumatic vs. Battery Grease Gun Leaks
The fundamental causes of leakage are similar across grease gun designs, but the troubleshooting process can differ.
Manual lever and pistol-grip guns are relatively simple. Their common leak points include the barrel, head, extension, hose, coupler, and follower assembly.
Pneumatic grease guns add air-powered components. Problems involving the air supply or pneumatic mechanism require troubleshooting according to the manufacturer’s instructions.
Battery-powered grease guns contain an electric drive system and may generate pressure rapidly. Do not disassemble electrical or motor components unless the manufacturer’s service instructions specifically permit it.
Regardless of the design, begin with external mechanical connections before assuming that the internal drive system has failed.
Grease Gun Maintenance Tips for Longer Service Life
A few routine habits can substantially improve reliability.
Wipe the coupler before and after use. Inspect the hose frequently. Keep replacement cartridges clean and sealed until needed. Do not allow dirt to enter the open barrel during reloading.
Periodically inspect threaded connections and seals, particularly if the gun receives heavy use.
Avoid using the hose as a carrying handle, and do not leave it sharply bent during storage.
Most importantly, respond to changes in the tool’s behavior. If pumping suddenly requires much more force, grease delivery becomes inconsistent, or a new leak appears, investigate the cause instead of compensating by pumping harder.
Small maintenance problems are generally easier to correct before they develop into component failures.
Frequently Asked Questions About Grease Gun Leaks
Is a Small Amount of Grease Leakage Normal?
A small amount of residual grease around the coupler after lubrication can occur. Continuous leakage from the barrel, hose, head, or seals is different and should be investigated.
Why Does Grease Leak Around the Cartridge?
Possible causes include incorrect cartridge installation, grease bypassing an internal seal, follower problems, or a damaged component. Clean the gun and determine exactly where the grease first appears.
Can Too Much Pressure Damage a Grease Gun?
Excessive pressure can place unnecessary stress on hoses, fittings, seals, and lubrication components. If the gun becomes unusually difficult to operate, stop pumping and determine what is restricting grease flow.
Why Won’t My Grease Gun Pump After Changing the Cartridge?
Air trapped inside the gun is a common reason. The gun may need to be primed or bled according to its manufacturer’s instructions.
How Often Should I Replace a Grease Gun Coupler?
There is no universal replacement interval. Replace or service the coupler when wear, damage, poor grip, or persistent leakage prevents it from connecting reliably to grease fittings.
Is It Worth Repairing an Old Grease Gun?
Often, yes. Replacing a coupler, hose, O-ring, or other inexpensive component can restore a quality tool. However, extensive internal wear, damaged threads, or multiple failing components may make replacement more practical.
Conclusion
So, why does my grease gun leak? In most cases, the problem can be traced to a loose connection, worn seal, damaged hose, faulty coupler, improperly installed cartridge, blocked grease fitting, restricted lubricant flow, or excessive pressure.
The easiest way to diagnose the problem is to thoroughly clean the tool and identify exactly where fresh grease first appears. Start with simple external components before disassembling the gun. Check connections, seals, the hose, coupler, cartridge installation, and the lubrication point itself.
Regular cleaning, proper cartridge loading, correct grease selection, careful storage, and periodic inspection can prevent many leaks before they begin.
A properly maintained Grease Gun should deliver lubricant where it is needed—not onto your hands, workbench, or shop floor.
